
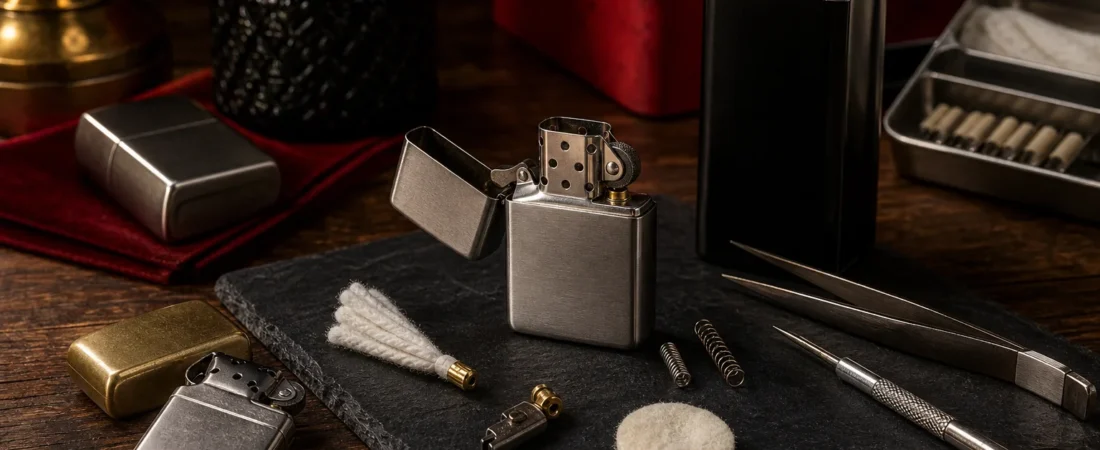
The wheel-and-flint petrol lighter is one of the most iconic objects of the twentieth century. Decades after its introduction, Zippo lighters remain highly sought-after pieces among everyday users and collectors alike. Their secret lies in a simple, fully repairable mechanism: every component can be replaced, making maintenance a straightforward task for any enthusiast.
In this guide we walk through, step by step, how to refill the fuel tank, when and how to replace the flint and wick, how to clean the chimney, and what to do to keep your lighter in perfect working order for years to come.
Please note: the sale of lighters and accessories in our shop is strictly reserved for adults aged 18 and over.
Basic Anatomy of a Zippo Lighter
Before discussing maintenance, it helps to know the main parts of the lighter:
- Outer case (lid and body): the decorative metal shell that protects the interior.
- Insert or inner module: the removable functional unit that houses the tank, chimney, wheel, flint, and wick.
- Fuel tank: the reservoir that absorbs fuel through a cotton and felt packing.
- Chimney: the perforated metal piece that shields the flame from the wind.
- Wick: the cord that draws fuel from the tank up to the flame.
- Flint: the element that, when struck against the serrated wheel, produces the spark.
- Flint spring and screw: hold and press the flint against the wheel.
Fuel Refilling: Step by Step
The Zippo uses lighter fluid (naphtha), not automotive petrol. Using an unsuitable fuel can damage the internal cotton packing and leave residue on the wick.
- Remove the insert by pulling it upwards out of the outer case.
- Lift the felt pad at the base of the tank: you will find the absorbent cotton beneath it.
- Apply the fuel slowly onto the cotton, saturating it without letting it overflow. Stop as soon as the cotton will no longer absorb any more.
- Replace the felt pad and slide the insert back into the case.
- Wait about 30 seconds before lighting it, to allow the fuel to settle and to avoid burning your fingers on the outside of the tank.
Signs that a refill is needed: the flame becomes low and uneven, or the lighter fails to ignite first time despite the flint producing a spark.
Flint Replacement
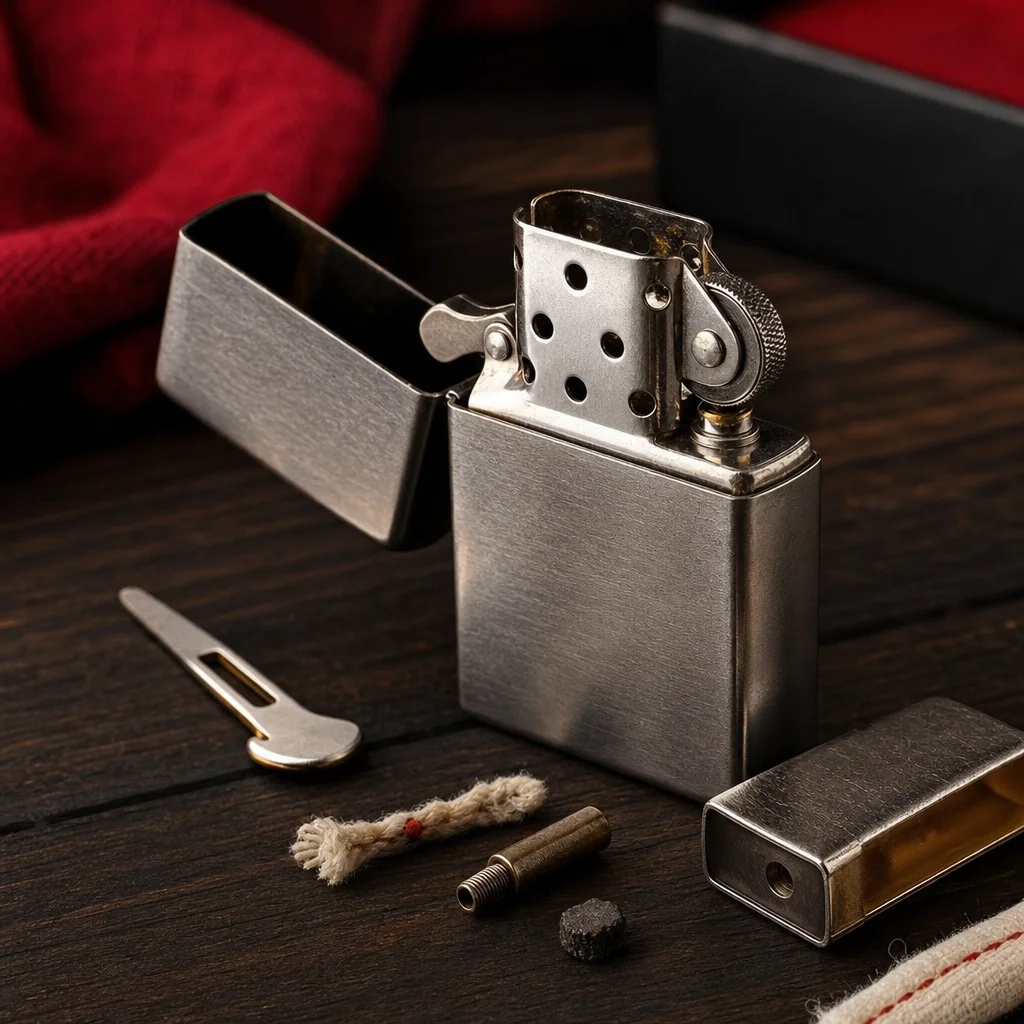
The flint wears down with use and eventually the wheel spins without producing a sufficient spark. Replacing it is very straightforward:
- Remove the insert from the case.
- Using a small coin, unscrew the spring screw located on the lower side of the insert.
- Remove the spring and take out any remnants of the old flint (fragments often remain).
- Insert the new flint into the channel, place the spring on top, and screw the screw back in until firm — do not overtighten.
- Check that the wheel produces a spark before reassembling the lighter.
Tip: if the lighter has been stored for a while, the flint may have corroded or become stuck to the spring. A couple of drops of lighter fluid in the channel will usually loosen it.
Wick Replacement
The wick gradually chars with use. When the top end becomes completely black and brittle, or when the flame is persistently low despite there being fuel in the tank, it is time to act:
- Remove the insert and lift the felt pad from the base.
- Using tweezers, pull the wick upwards through the chimney until the burnt end comes out. If there is still usable length remaining, simply pull it up a little to expose fresh wick and trim off the charred end.
- If the wick is completely spent, pull it out entirely from below and thread the new wick through the chimney hole, leaving a few millimetres protruding from the top.
- Replace the felt pad and refill the tank.
Chimney Cleaning
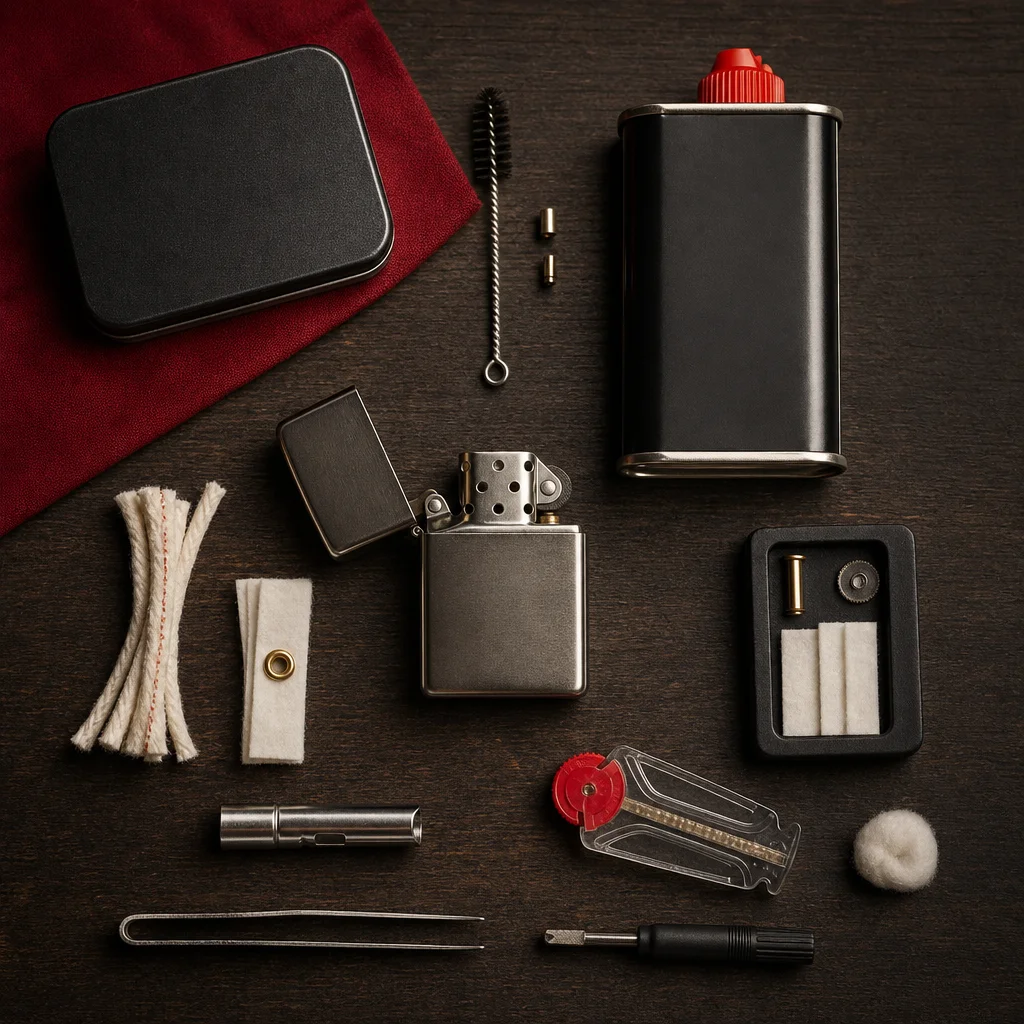
The chimney accumulates combustion residue (soot and carbon deposits) that can block its holes and affect the draw of the flame. To clean it:
- Remove the insert and, if possible, detach the chimney from the unit (on many models it can be carefully lifted off).
- Use a cocktail stick or a fine-bristled brush to remove soot from the side holes.
- A cloth lightly dampened with lighter fluid will remove more stubborn deposits from the outside of the chimney.
- Allow it to dry completely before reassembling.
Maintenance Schedule by Frequency
| Task | Approximate Frequency | Warning Sign |
|---|---|---|
| Fuel refill | Every 1–2 weeks (daily use) | Low or absent flame with a good spark |
| Flint replacement | Every 2–4 weeks (daily use) | Wheel spins without producing a spark |
| Wick trimming or replacement | Every 2–3 months | Black, brittle wick; uneven flame |
| Chimney cleaning | Every 3–6 months | Visibly blocked holes |
| Internal cotton inspection | Annually or when changing the wick | Disintegrated cotton or persistent strong odour |
| Outer case cleaning | As needed, depending on use and finish | Visible dirt, loss of shine on chrome finishes |
Preservation as a Collector’s Piece
Many enthusiasts keep Zippos as part of a collection without using them daily. In that case, the best approach is to empty the tank completely before storing: the fuel evaporates over time and the residue it leaves behind can deteriorate the cotton packing and the wick. Store the lighter in a dry place, away from heat sources, and if the finish is delicate (silver, gold, or painted), wrap it in a soft cloth to prevent scratches.
For chrome and polished brass finishes, a dry microfibre cloth is sufficient to maintain the shine. Avoid abrasive products or solvents that could damage the engraving or the surface plating.
Which Lighter Should You Choose if You Want Something Different?
The Zippo is the undisputed benchmark for classic petrol lighters, but it is not the only quality option available. If you prefer a more compact, gas-refillable format, the metal refillable Clipper offers a different mechanism with an equally replaceable flint. For more everyday, disposable use, Bic lighters are the benchmark for no-maintenance reliability. And if you are looking for the versatility of a Clipper with a premium finish, take a look at the range of Clipper lighters available in our shop.
To complete your enthusiast’s kit, our smoker’s accessories section has a range of add-ons designed for those who pay attention to every detail of their experience.
Conclusion
Maintaining a Zippo requires no specialist tools or advanced technical knowledge: with a little care and the right consumables (fuel, replacement flints, and wicks), this lighter can last for decades in perfect working order. The key is to act before components fail entirely and to avoid improvising with unsuitable materials. With the right maintenance routine, your Zippo will light first time every time — whether you use it daily or keep it as a collector’s piece.
Everything you just read, one click away
Frequently asked questions
How often does a Zippo lighter need to be refilled?
It depends on use. With moderate daily use, the tank typically needs refilling every one to two weeks. The clearest sign is that the flame becomes low or the lighter fails to ignite even though the wheel is producing a spark.
What type of fuel does a Zippo use?
Zippo lighters use lighter fluid (naphtha), specifically designed for this type of lighter. Automotive petrol or any other fuel not intended for lighters should never be used, as it can damage the internal components.
When should the flint in a Zippo be replaced?
When the wheel spins without producing enough of a spark to light the lighter. With daily use, this typically happens every two to four weeks, though the lifespan varies depending on how heavily the lighter is used.
How should a Zippo be stored if it is not going to be used for a while?
The best approach is to empty the fuel tank completely before storing it, as the fuel evaporates and can leave residue that deteriorates the cotton packing and the wick. Store it in a dry place, away from heat sources.
Can the outer case of a Zippo be cleaned?
Yes. For most finishes, a dry microfibre cloth is sufficient to maintain the shine. Abrasive products or solvents should be avoided, as they can damage the finish, engraving, or surface plating of the lighter.