
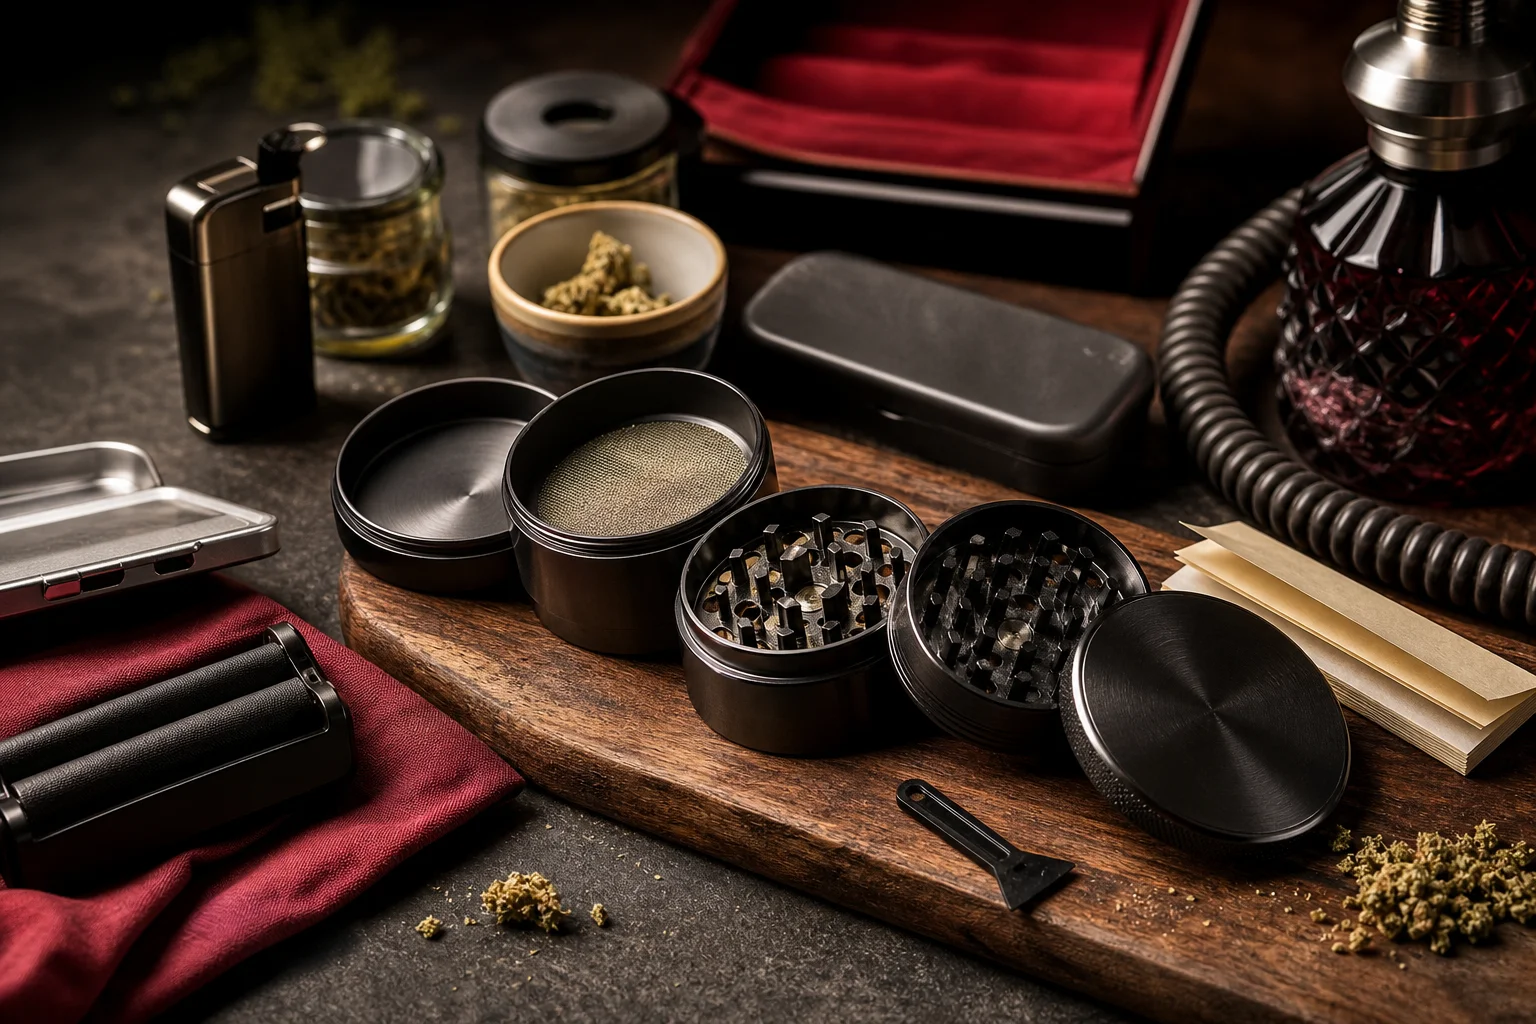
A grinder is one of the most versatile accessories for anyone who rolls their own tobacco or aromatic herbs. However, using it incorrectly or neglecting its upkeep reduces its performance and shortens its lifespan. This practical guide explains, step by step, how to load it, grind with it and extract the results — and how to keep it clean so it always works as well as the day you bought it.
Note: the sale of tobacco and smoking accessories is strictly reserved for adults aged 18 and over.
Parts of a Grinder: What You’re Working With
Before you start, it’s worth getting to know the basic anatomy of the device. Most quality grinders consist of three or four pieces:
- Top lid and grinding chamber: where the teeth or pegs that cut the material are located.
- Collection chamber: the middle compartment where the ground tobacco or aromatic herb falls once shredded.
- Kief catcher (on 4-piece models): separated by a fine mesh screen, this chamber collects the finest powder — the kief — that passes through the sieve.
Two-piece models are simpler and more compact; four-piece models offer greater versatility thanks to that kief-catching chamber. You can explore the range available, including the popular grinder cards, an ultra-slim card-shaped format that’s ideal for carrying in your wallet.
Step 1: Loading Your Grinder Correctly
The most common mistake is placing the material right in the centre of the grinding chamber. The grinder’s teeth rotate around the central axis, so that area receives no cutting action. Follow these steps:
- Open the lid and distribute the tobacco or aromatic herb between the teeth, keeping the centre clear.
- Don’t overfill: too much material makes it difficult to turn and can jam the teeth or damage the magnetic closure mechanism.
- Remove any stems or hard fragments before closing; these can scratch the interior or bend the teeth.
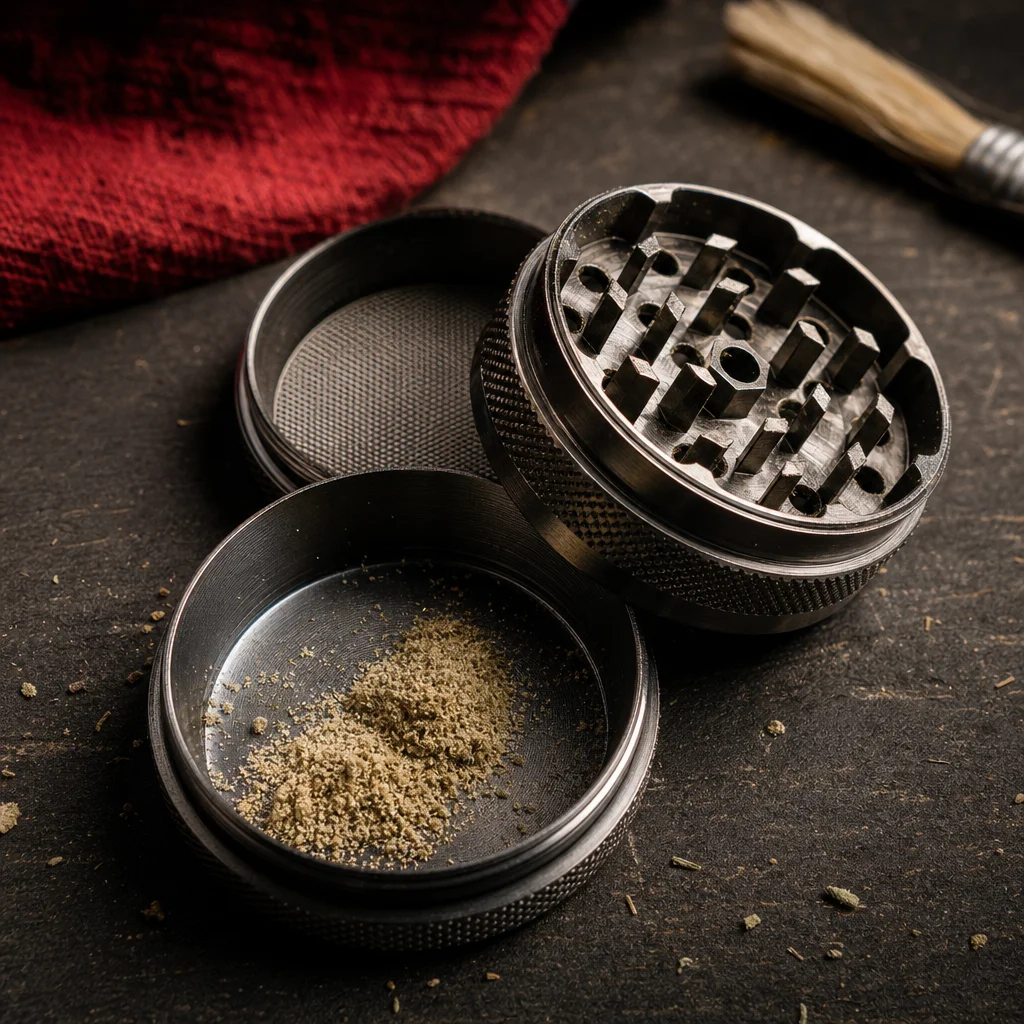
Step 2: Grinding Technique for an Even Result
The mechanics may seem straightforward, but there are a few small tricks that make a real difference:
- Rotate in both directions: rather than always turning the same way, alternate the direction every two or three rotations. This prevents the material from compacting on one side and ensures a more even grind.
- Steady, gentle pressure: there’s no need to force it. Moderate pressure and a smooth motion produce better results than sharp, jerky movements.
- Number of rotations: between eight and twelve turns is usually enough for most materials. If you notice the rotation becoming freer (with less resistance), that’s a sign the grind is complete.
- The tap trick: before opening the collection chamber, give the grinder a couple of gentle taps against the palm of your hand. This dislodges any ground material clinging to the teeth and sends it downwards.
Step 3: Extracting and Using the Ground Material
Open the collection chamber carefully so as not to waste anything. The ground tobacco or aromatic herb will be ready to use straight away. Depending on your preferred method, you can:
- Roll it by hand using your favourite rolling papers and a card filter to shape and firm up the cigarette.
- Fill pre-rolled cones, which simplify the process enormously: simply pack in the material and tamp it down lightly.
- Use a rolling or filling machine for a more uniform and consistent result.
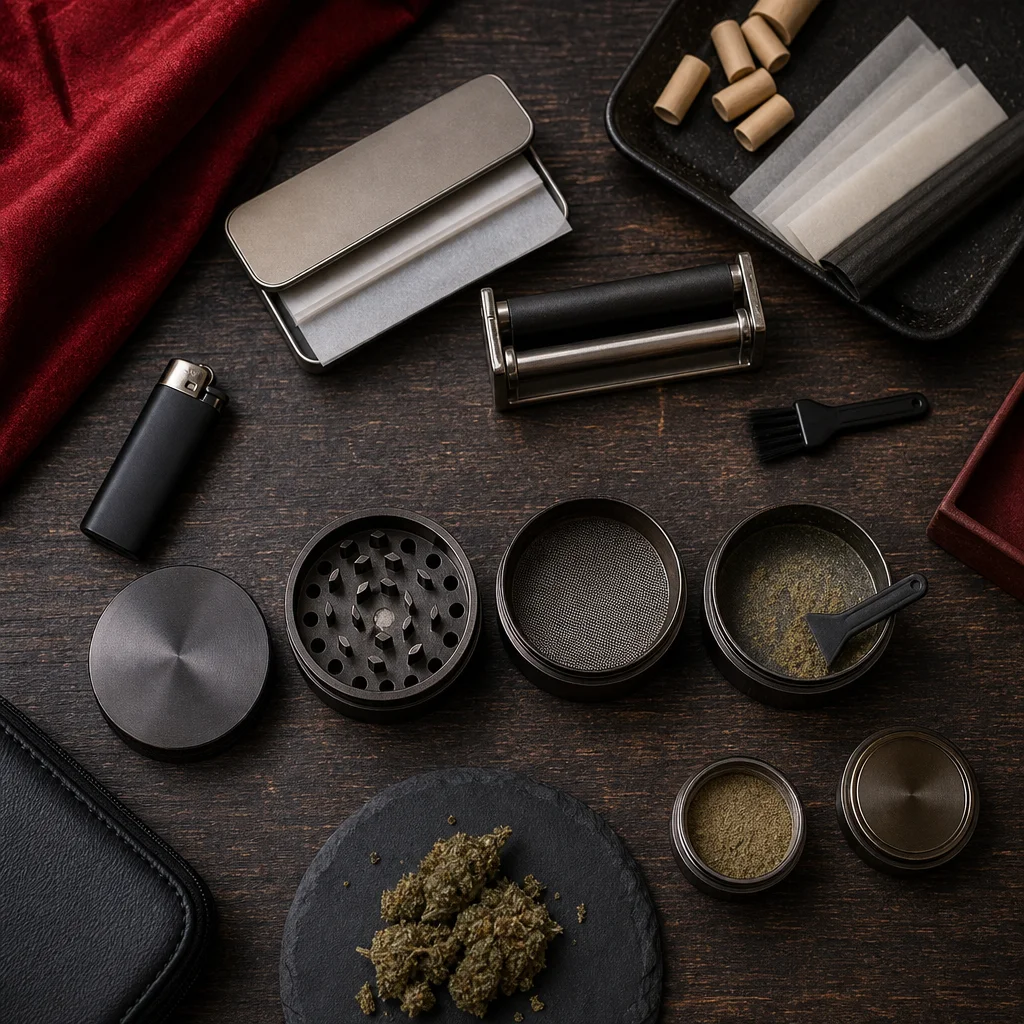
How to Make the Most of the Kief in the Collection Chamber
If your grinder has four pieces, over time you’ll notice a fine, compact powder building up in the bottom chamber: the kief. This is the most concentrated fraction of the aromatic herbs or tobacco, which passes through the mesh screen. To make the most of it:
- Collect it with the scraper: many grinders include a small spatula or scraper. Use it to loosen the kief from the walls and base of the chamber.
- Add it to your ground tobacco to enrich the blend before rolling.
- The cold trick: placing the grinder in the freezer for 15–20 minutes causes the kief to detach more easily from the mesh and walls when you give it a gentle shake.
- Clean the mesh with a fine-bristled brush (watercolour or make-up brushes work very well) to clear the holes without damaging the screen.
Periodic Grinder Cleaning: Step by Step
Resin and material residue build up with use, hardening the teeth, clogging the mesh and making the grinder harder to turn. Regular cleaning — every two to three weeks if you use it daily — keeps performance at its best.
What You’ll Need
- Isopropyl alcohol (minimum 90% purity)
- A small container or resealable bag
- An old toothbrush or firm-bristled brush
- Wooden cocktail sticks or cotton buds
- Kitchen roll or lint-free cloths
Cleaning Process
- Disassemble all the pieces and collect the kief from the catcher chamber first, before the alcohol dissolves it.
- Soak or wipe with alcohol: for metal grinders, you can submerge the pieces in isopropyl alcohol for 20–30 minutes. For acrylic or plastic models, limit contact to wiping with a soaked cotton bud, as prolonged exposure to alcohol can damage certain plastics.
- Scrub the teeth and mesh with the brush to remove the softened residue. Pay particular attention to the holes in the sieve.
- Rinse with warm water (metal or treated wood pieces only) and dry thoroughly with kitchen roll.
- Leave to air dry for at least 30 minutes before reassembling the grinder. Any residual alcohol must evaporate completely.
Alcohol-Free Alternative
If you don’t have isopropyl alcohol to hand, hot water with a few drops of washing-up liquid is a valid alternative for metal grinders. Avoid this method with untreated wooden grinders or those with painted finishes, as water can cause the material to swell or deteriorate.
Maintenance Tips to Extend Your Grinder’s Life
- Store the grinder closed and in a dry place to prevent moisture from corroding the metal components.
- If the rotation becomes stiff between cleans, a small amount of beeswax (not cooking oil) applied to the threaded rim can smooth it out without contaminating the material.
- Check the lid’s magnetic closure periodically: if it loses its strength, the grinder may open accidentally.
- Never force the mechanism if it’s jammed; disassemble and clean it before attempting to turn it again.
Quick Summary
| Stage | Key Point | Frequency |
|---|---|---|
| Loading | Material between the teeth, not in the centre | Every use |
| Grinding | Alternate directions, gentle pressure | Every use |
| Kief | Scraper + cold trick | When it builds up |
| Cleaning | Isopropyl alcohol + brush | Every 2–3 weeks |
With these steps, your grinder will perform at its best for far longer. If you’re thinking of upgrading or getting a new one, our grinders section has a wide selection of models and materials to suit every type of user.
Everything you just read, one click away
Frequently asked questions
How often should I clean my grinder?
If you use it daily, the ideal is to clean it every two to three weeks. With more occasional use, a monthly clean is usually enough to keep the mechanism in good working order.
Can I clean a plastic or acrylic grinder with isopropyl alcohol?
Caution is advised: prolonged exposure to alcohol can damage certain plastics. The safest approach is to wipe with a soaked cotton bud rather than submerging the pieces, and to rinse quickly with warm water.
What is kief and how do you collect it?
Kief is the fine powder that accumulates in the collection chamber of four-piece grinders, separated from the rest of the material by a mesh screen. It is collected using the included scraper or a fine-bristled brush. The cold trick — placing the grinder in the freezer for 15–20 minutes — helps it detach more easily.
Why shouldn't I place the material in the centre of the grinder?
The grinder's teeth rotate around the central axis, so that area receives no cutting action. If you place the material in the centre, it will remain whole or poorly ground. Always distribute it between the teeth for an even result.
What should I do if my grinder has become very stiff to turn?
First, disassemble and clean all the pieces with isopropyl alcohol to remove any built-up resin. If it's still stiff after cleaning, you can apply a small amount of beeswax to the threaded rim to smooth the movement.