
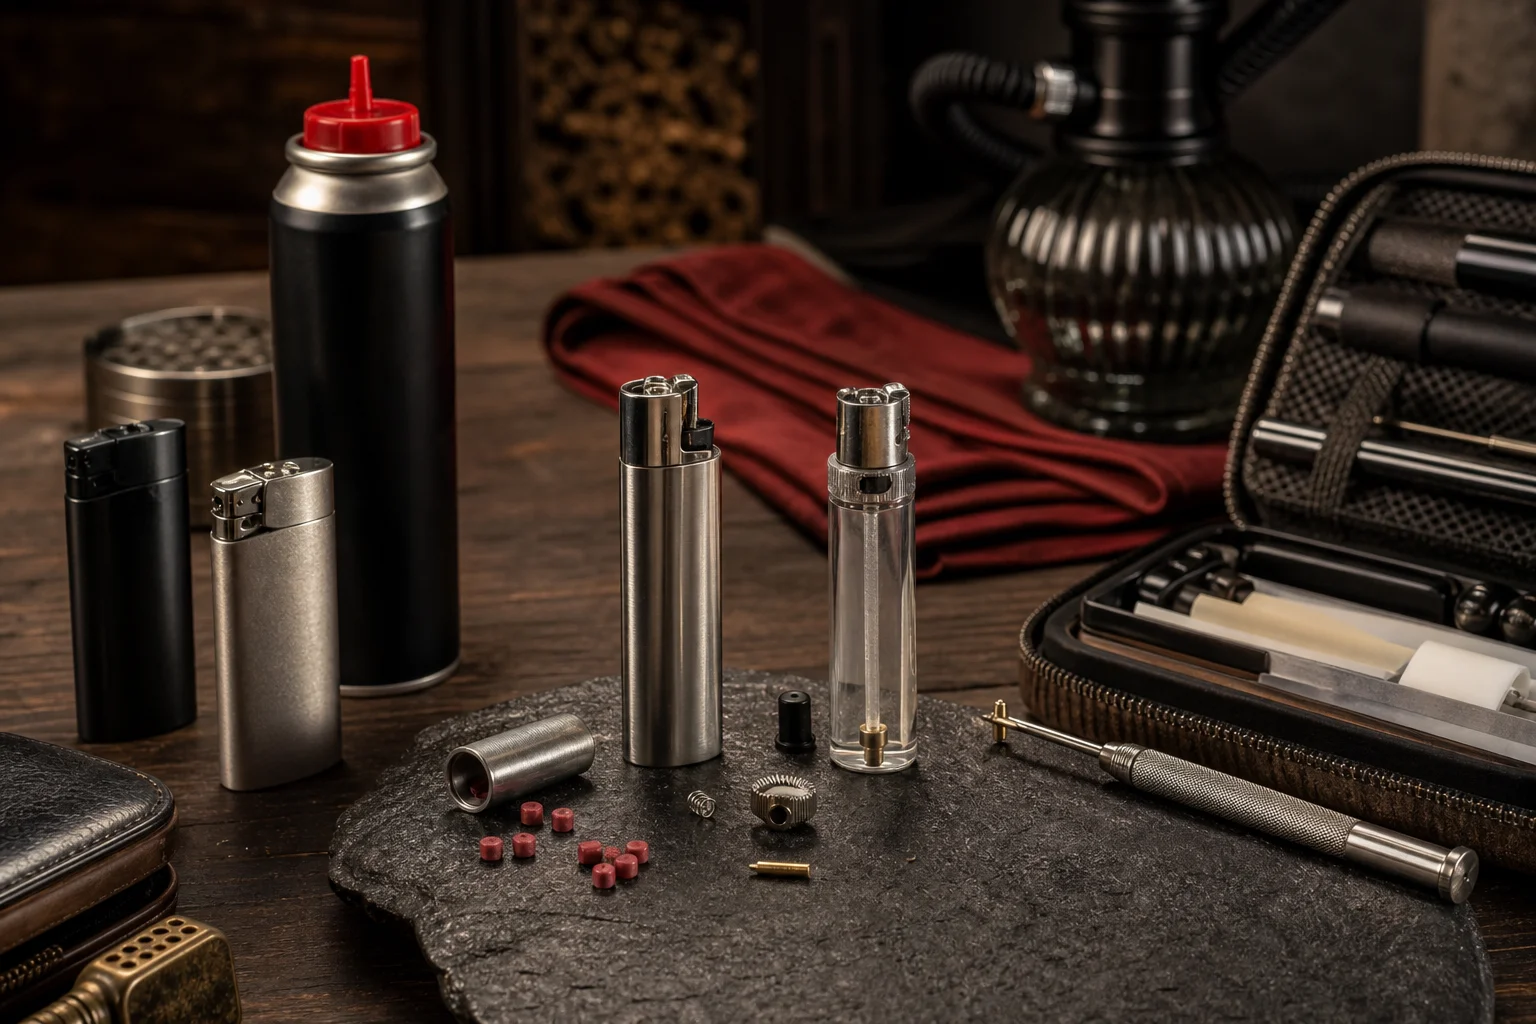
The Clipper lighter is one of the most popular in Spain, precisely because it is built to last. Unlike disposable lighters, the Clipper can be refilled with gas, its flint is replaceable, and its flame is adjustable. Knowing how to maintain it properly makes the difference between a lighter that lasts a few months and one that stays with you for years. This guide covers everything you need to know.
Note: the sale of lighters and tobacco accessories is reserved for adults aged 18 and over.
Why is it worth maintaining a Clipper rather than throwing it away?
Clipper lighters are built with a modular system designed from the outset for refilling and part replacement. Their polyacetal body (a high-strength engineering plastic) withstands multiple refill cycles without degrading. What’s more, models such as the metal Clipper or the editions from the Clipper Europa collection have a premium finish that makes investing in their upkeep all the more worthwhile rather than simply discarding them.
From a practical standpoint, keeping a Clipper in good condition is straightforward once you know the process. Below, we break it down into three sections: gas refilling, flint replacement, and flame adjustment.
How to refill the gas tank on a Clipper
What you need
- A canister of butane gas for lighters (standard valve).
- Your empty or nearly empty Clipper lighter.
- A well-ventilated area, away from flames or sources of heat.
Step by step
- Make sure the lighter is off. It may seem obvious, but it is the essential first step. Turn the flame adjustment wheel down to the minimum setting.
- Purge the tank if necessary. If the lighter is misfiring due to a build-up of air inside, use a thin object (a pen, for example) to press the filling valve at the base and release any residual gas. Do this in a well-ventilated space.
- Invert the lighter. Hold the Clipper upside down. The refill valve is located at the base of the lighter.
- Connect the gas canister. Fit the nozzle of the canister into the valve at the base of the Clipper. Press firmly for around 5–10 seconds. You will feel the gas entering; in some cases you will notice slight condensation on the body of the lighter, which indicates the tank is filling up.
- Wait before lighting it. Leave the lighter to rest upright for at least 2 minutes before attempting to light it. This allows the gas to stabilise at room temperature.
Common mistakes when refilling
- Not purging the air first: if air is trapped in the tank, the gas does not enter correctly and the lighter will continue to misfire.
- Refilling a warm lighter: if you have just been using it, wait for it to cool down. Heat makes it harder for gas to enter and can cause leaks.
- Using an incompatible gas canister: standard valves work with most butane canisters for lighters, but check that the adapter fits properly before pressing.
- Lighting it straight away: the gas needs time to stabilise; lighting it immediately can produce an uneven flame or a small flare-up.
How to replace the flint on a Clipper
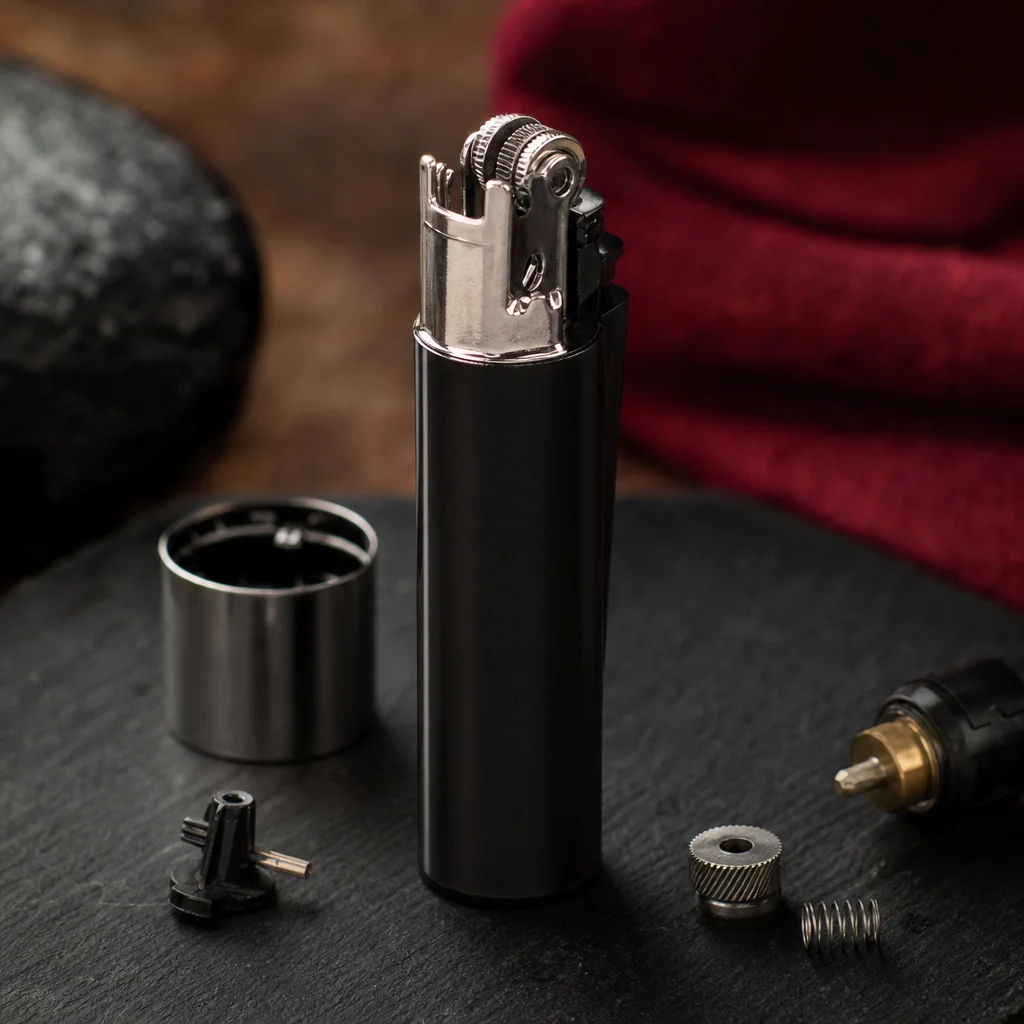
One of the most appreciated features of the Clipper is that its ignition system is fully removable. When the wheel spins but produces no spark, it is a sign that the flint is spent.
Step by step
- Remove the ignition system. Grip the spark wheel and pull firmly upwards. On standard Clippers, the entire assembly (wheel + spring + flint) comes out as a single unit.
- Remove the spent flint. At the bottom of the stem you will find the spring and, beneath it, the small cylindrical flint. Remove the remains of the old flint.
- Insert the new flint. Place the replacement flint in the housing, making sure it sits securely on the spring.
- Reinsert the assembly. Push the stem with the wheel back into the body of the lighter until it clicks into place.
- Test the ignition. Spin the wheel several times to confirm the spark is consistent.
Additional tip
The stem removed from the Clipper also works as a tamper for packing tobacco in a pipe or a roll-up, making it a highly versatile accessory that regular users particularly appreciate.
How to adjust the flame on a Clipper
The Clipper has a flame adjustment wheel at the base of the lighter, next to the refill valve. Turning it one way increases the flame; turning it the other way reduces it.
- Flame too high: reduce the flow by turning the wheel. An excessively large flame uses gas more quickly and can damage the lighter over time.
- Flame too low or absent after refilling: increase the flow slightly. If it still will not light, repeat the tank purging process.
- Uneven or flickering flame: this usually indicates that air remains in the tank or that the flint is nearly exhausted.
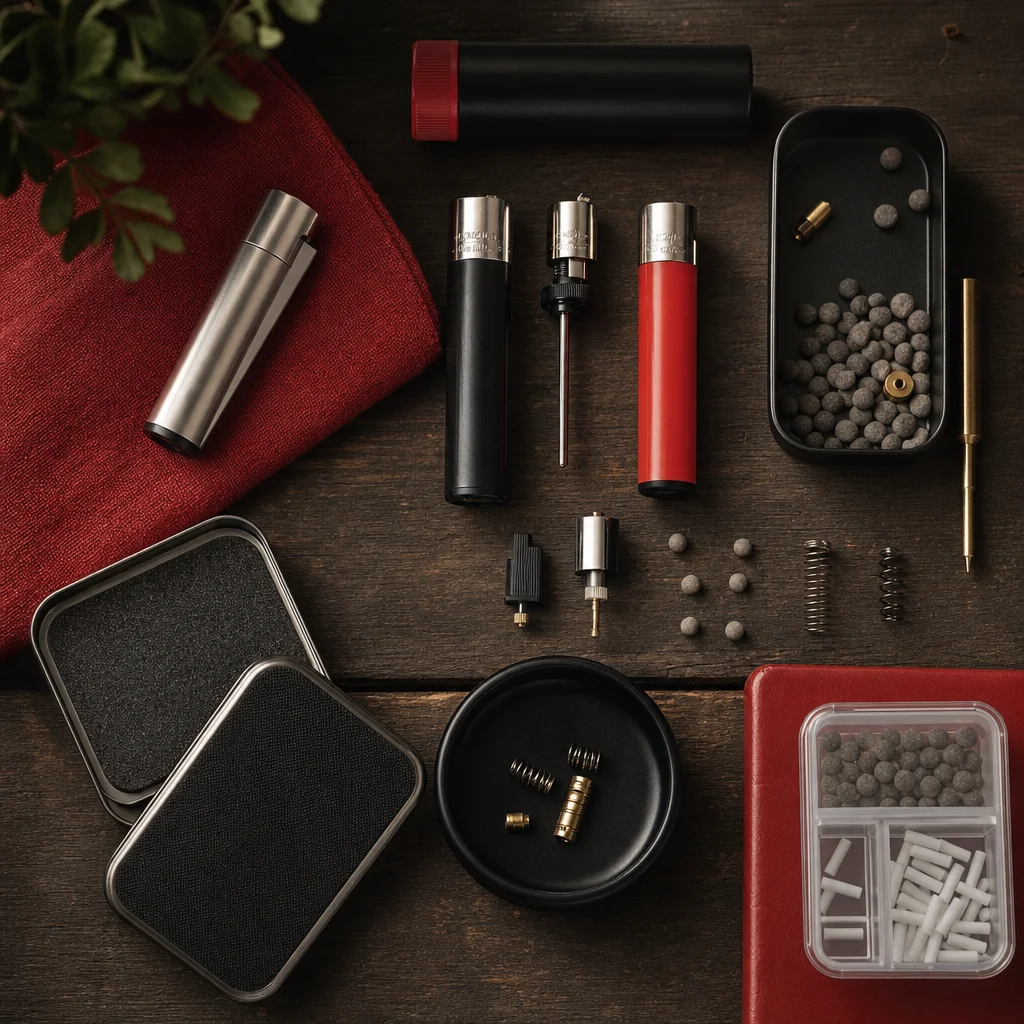
Maintenance tips to keep your Clipper going for years
- Keep it away from extreme heat. Do not leave it on the dashboard of a car in summer or near direct heat sources.
- Clean the spark wheel regularly. Over time, residue from the flint can build up. A soft brush or a dry cloth is all you need to keep it in good condition.
- Do not leave it completely empty for long periods. An empty tank can accumulate moisture inside. It is better to always keep a small amount of gas in it.
- Use good-quality gas. Low-quality gas can leave deposits in the valve and shorten the lighter’s lifespan.
- Check the valve seals. If you notice gas escaping after refilling, the valve seal may have deteriorated. In that case, the most practical solution is to replace the lighter.
Which Clipper model should you choose if durability is your priority?
If your goal is a lighter that stands the test of time with the best possible maintenance, it is worth considering the higher-end options. The metal Clipper offers a more robust body than the standard plastic version, making it ideal for heavy use or for those who prefer a sturdier finish.
For collectors or those who want to combine functionality with design, limited series such as the Clipper collector’s edition or the designs from Clipper España are a very popular choice. All of them share the same refilling and flint-replacement system described in this guide, so the maintenance process is identical regardless of the model.
In short, a well-maintained Clipper is a lighter that can stay with you for years without ever needing to be replaced. With a proper refill, the flint changed at the right time, and the flame correctly adjusted, performance remains virtually as good as the day you first used it.
Everything you just read, one click away
Frequently asked questions
What type of gas is used to refill a Clipper lighter?
The Clipper is refilled with standard butane gas for lighters, available in canisters with a universal valve. It is important to use good-quality gas to avoid deposits in the valve and to extend the lighter's lifespan.
How long should you wait after refilling a Clipper before lighting it?
It is recommended to wait at least 2 minutes with the lighter held upright after refilling. This allows the gas to stabilise at room temperature and prevents uneven flames or flare-ups when you light it.
How do I know when the flint on my Clipper needs replacing?
When the spark wheel turns but does not produce enough of a spark to light the lighter, it is a sign that the flint is spent and needs to be replaced. The process is straightforward and requires no tools.
Why won't my Clipper light after I've refilled it?
The most common causes are: air trapped in the tank (it needs to be purged before refilling), the lighter was warm during refilling, or the flame is turned down to the minimum setting. Check these points before giving up on the lighter.
Are all Clipper models refilled and maintained in the same way?
Yes. The standard Clipper, the metal version, collector's editions, and designer models all share the same refilling and flint-replacement system. The process described in this guide applies to the entire Clipper range.